5 Essential Tips for Unboxing Your Cable Box with Ease
Unboxing your cable box can be an exciting yet daunting task, especially if you’re doing it for the first time. To make this experience seamless, it’s essential to follow a few tips that can simplify the process. Start by gathering all the necessary tools and equipment before you begin. This can include a pair of scissors for cutting through packaging as well as a clean, flat surface to set everything down. Once you're ready, carefully remove the outer packaging to prevent any accidental damage to your new cable box.
Next, when you're ready to unpack your cable box, it's helpful to take things step by step. Lay out the contents in an organized manner to ensure you have everything you need, including cables, remote, and manuals. Tip 1: Keep all accessories nearby. Tip 2: Take a moment to read the manual for any specific setup instructions. By following these simple yet crucial tips for unboxing your cable box, you will set yourself up for a smoother installation process that ultimately enhances your viewing experience.
If you're looking to organize your workspace and minimize clutter, check out the Top 10 Cable Boxes for Desk Management. These innovative solutions help conceal messy cables and improve the overall aesthetics of your desk. With various styles and sizes available, you're sure to find a cable box that fits your needs and enhances your productivity.
Transforming Your Living Space: The Ultimate Guide to Unboxing Your Cable Box
Transforming your living space begins with understanding how to efficiently set up your entertainment center. Unboxing your cable box can be the first step in creating the perfect viewing environment. Begin by carefully opening the box and laying out all the contents, including the cable box, remote, and necessary cables. Ensure that you keep the user manual handy as it offers valuable insights into setup and troubleshooting. Once you have everything organized, follow the steps outlined in the manual to connect your cable box to your TV and any other devices.
After the initial setup, it’s time to personalize your space. Consider cable management solutions to keep wires organized and out of sight. Use clips or covers to tidy up cords, and think about rearranging furniture to create a cozy atmosphere for watching your favorite shows. Implementing these tips not only enhances your living area but also provides a more enjoyable experience as you settle in to enjoy your newly connected cable service.
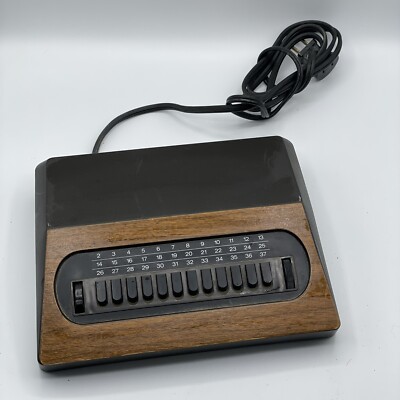
What to Do After Unboxing Your Cable Box: Setting Up for Success
Congratulations on unboxing your new cable box! The first step in setting up for success is to carefully inspect all components included in the package. Ensure that you have the cable box, remote control, power supply, and any necessary cables such as HDMI or coaxial. Once you've confirmed that everything is present, the next step is to connect your cable box properly. Begin by placing the cable box on a flat surface, away from any heat sources, and connect it to your TV using the HDMI cable. Don't forget to plug in the power supply to the cable box and wall outlet, then switch on your TV to the appropriate input channel.
After the physical connections are made, the next crucial step is to activate your cable box. This typically involves using the remote control to navigate to the setup menu on your TV. You may need to enter a set of activation codes provided by your cable service provider. If you're unsure about the activation process, refer to the user manual or visit your provider's website for assistance. Once your cable box is activated, take a moment to explore the settings, adjusting preferences like picture quality, parental controls, and channel favorites to enhance your viewing experience. Don't forget to download any additional apps or updates that might improve functionality!